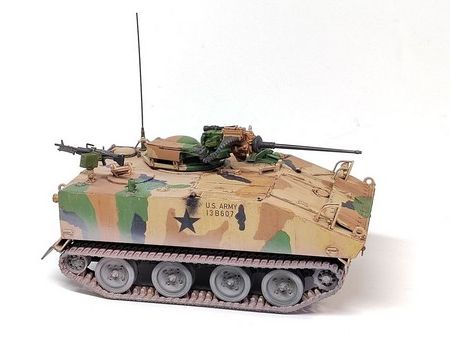
M114 A1E1
Ref: Takom #2149
M114 A1E1 CRV
The M114 is a light command and reconnaissance vehicle designed in the early 1960's. It entered service in 1962 and was deployed to Vietnam where it did not meet the expectations in terms of performance and reliability. As soon as 1964 it was withdrawn from Vietnam but remained in service with the US Army.
The M114 A1E1 is the last version which entered service in 1969 and was characterized by the replacement of the M2 HMG by the 20 mm Hispano-Suiza HS-820 cannon also known as M139.
The M114 hull was aluminum to be air-transportable and even droppable. This allowed the M114 to be amphibious. Its lack of protection, in particular against landmines, was one of the main reasons of its withdrawal from Vietnam.
The crew of 3 included a driver, a commander-gunner and an observer.
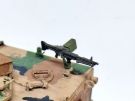
The main armament was the 20 mm M139 cannon with 400 rounds. The secondary armament wass a 7.62 M60 MG mounted on a pedestal at two possible locations on the hull roof near the observer hatch.
The M114 was deployed to Vietnam but also in South Korea and in Europe within the US contingents. South Vietnam and El Salvador also used M114s. All the US M114 were phased out in 1979.
The kit
Released by Takom in 2021, it includes 6 light grey plastic sprues, 1 clear sprue, 2 jigs to assemble the tracks, 1 ammo feed chute in vinyl, 1 photoetch plate, 1 sheet of decals, 1 length of braided brass for the cable and 1 instructions booklet. The tracks are lengths and individual links type. Unlike the kits of the M114 and M114A1, this model comes with no interior.
The cast is clean and the level of detail
very good. There are some ejection pinmarks which are easy to deal with. The fit
is overall good. However one must notice that some locating pins or holes need
to be reworked. Some parts are very thin and require a bit of care. The vinyl
ammo feed chute is too stiff which really makes the installation hard. The jigs
for assembling the tracks are a real plus and easy to use.
The notice is generally cleat but features some numbering mistakes which will be
mentioned later on.
The 4 decoration schemes are included at the end of the instructions booklet and only give color references in the Ammo range. There is no top view for the 2 options in the MASSTER camo which is annoying.
The build
It begins with the suspension. At steps 1 and 2 you have to glue U shaped half rings. There is no locating holes in the hull. It is better to drill some to enhance the bonding.
Step 3 has no interest as it simply tells to adapt the assembling tracks jigs to the suspension. Maybe this allows to check whether the sprockets and idlers are glued with the right spacing.
At step 4 you assemble the 8 roadwheels. The inner faces feature ejection pinmarks you need to sand away.
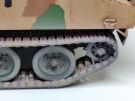
At step 5 you assemble the both tracks which comes with no issue providing you follow the instructions. Note that the part in contact with the ground is not planned at this stage.
At step 6 the tracks are installed around the running gear which means the latter has been painted beforehand.
At step 7 the lower part of the tracks is installed and the detailing of the hull begins.
Steps 8 and 9 deal with the assembly and
the detailing of the rear wall. To avoid any breakage, I have assembled the
whole hull first.
For the rear wall it is not necessary to glue the handle on the inner face of
the door. The door lock location molded to the hull is a bit thick, it needs to
be thinned. If you choose a MASSTER camouflage it is better not to glue the fuel
can before the painting.
At step 10 you add the rear mudguards. It is important not to glue them before the tracks are in place because their location is not clear enough in the instructions.
Steps 11 to 13 deal with the roof assembly. The parts inside the hatches can be omitted. At step 12 do not glue parts G40 and G41 on the hatch B10 axis. It is better to do it when you glue the hatch onto the roof.
At step 13 you need to shorten the locating pins of part G35.
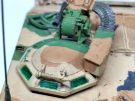
Step 14 deals with the commander cupola. The episcopes ring J2 is painted clear green inside before it is glued. G62 locating pin must be thinned. The position of the ammo box supports H14 and H15 is not clear. It is possible to wait for the gluing of the box and then add the supports.
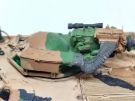
At step 15 you need to install the cable. Takom do not give any length. The simplest is to wind the cable as per the drawing and cut the necessary length.
Steps 16 and 17 deal with the installation of the engine compartment plate and the front glacis which is not a problem. You just need to take care of the finesse of some parts.
Step 18 features the single mistake of the notice which concerns the numbers of the supports of the headlights guards. You need to invert the supports of sub-assemblies C and D that means G13 and G14 with G11 (C) and A12 x2 with G12 (D).
At step 19 the assembly of the hull is complete.
Steps 20 to 22 deal with the weapons
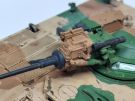
assembly. The canno requires some care due to the number of parts. The cannon
muzzle is hollowed as well as the ends of the sight H23. The locating hole for
the barrel is not wide enough, you have to slightly enlarge it. The cannon is
not design as mobile. To facilitate the painting for the MASSTER options it is
better not to glue the cannon onto the cupola. You also need to slightly enlarge
the cupola ring on the roof.
The true issue comes with the installation of the ammo feed chute. Indeed the
vinyl used is too stiff and cannot be shaped before it is installed. It creates
an excessive pressure to the cannon and the ammo box which results in the
necessity of gluing the parts with CA glue. Even in doing this the chute does
not have a gentle S shape like the actual one but makes a sharp angle. To solve
the issue I cut the chute, removed 3 elements, inserted brass rods in the ends
of the parts to connect before gluing them with CA glue. The best is to modify
the chute beforehand.
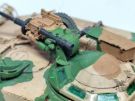
To conclude you just need to assemble the M60 MG. So that the G25 pintle do not
make contact with the cradle G28, its left outer side must be sanded. Takom
designed the ammo can holder and the can itself as separate parts which allows
not to use the latter.
The decoration
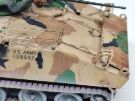
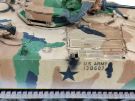
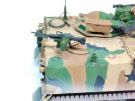
The four options include 2 plain green vehicles and 2 more in the MASSTER 4 tone camouflage. Takom give indications about the units which is rare among the manufacturers. Unfortunately as stated in the introduction, there is no top view for the vehicles sporting the 4 tone camouflage. So you have to invent being coherent between the drawings in the instructions and the roof scheme. All the vehicles presented belonged to units stationed in West Germany.
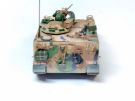
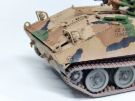
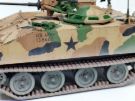
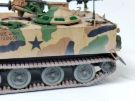
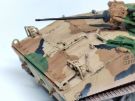
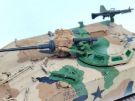
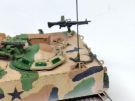
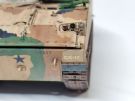
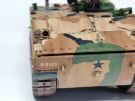
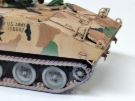
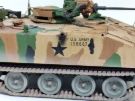
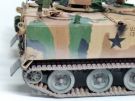
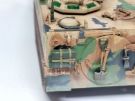
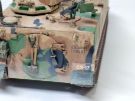
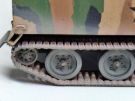
I opted for a vehicle with the MASSTER camouflage belonging to the 2nd battalion/13th infantry regiment stationed in Mannheim in March 1974. The base shade is XF-78 wooden deck tan. It was sprayed. The green patches have been painted with a mix of XF-26 deep green and XF-4 yellow green. For the brown I used Prince August US tan Vietnam. and the black is XF-1 flat black. The camouflage has been paintbrushed and not sprayed as in reality. The camouflage of the vehicle I chose to depict do not comply with the regulations which appears to have often been the case. As a result it makes the roof painting complicated as it is not possible to use the official paint scheme. You have to imagine a coherent color distribution.
For the weathering, I applied a light brown filter over a coat
of gloss varnish. Then I used the oil dots technique to create variations in the
shades. When it was dry, I sprayed mat varnish and used water pencils to create
streaking effects.
The dust was made with Lifecolor Dark dust liquid pigments. The Light earth
reference was also used here and there. The metal parts (cannon tube MG, tools,
cable) have been rubbed with graphite.
Conclusion
Even if the actual vehicle was a failure, we must thank Takom for releasing this kit of a vehicle iconic of the Cold War. The model is well detailed and build quite easily with the exception of the ammo feed chute. Moreover the MASSTER decorations give a nice touch of originality.
Click on a thumbnail to see the full sized picture
|
|
|
|
|
|
|
|
|
|
|
|

|
|
|
|
|
|
|
|
|
|
|
|
|

|
|
|
|
|
Last updated: 08/2025